How to configure VPN on my Virtual Private Cloud (VPC)?
Your Virtual Private Cloud (VPC) comes with VPN (Virtual Private Networking) capability for your workstation to establish secured and encyrpted connection into your cloud's private network. By establishing the VPN, your workstation can connect to your servelets within your VPC through their private IP addresses and it will seem that your workstation is on the same private network as the servelets in the cloud.
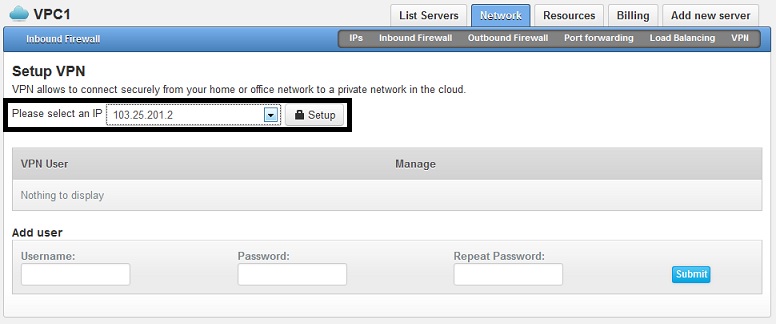
To setup VPN on your VPC, login to our portal and then go to your VPC's control panel: Services > Virtual Private Cloud and then click on your VPC plan. Go to "Network" tab and then go to "VPN" tab under Network. Select the public IP address you wish to use for the VPN, and then click on "Setup".

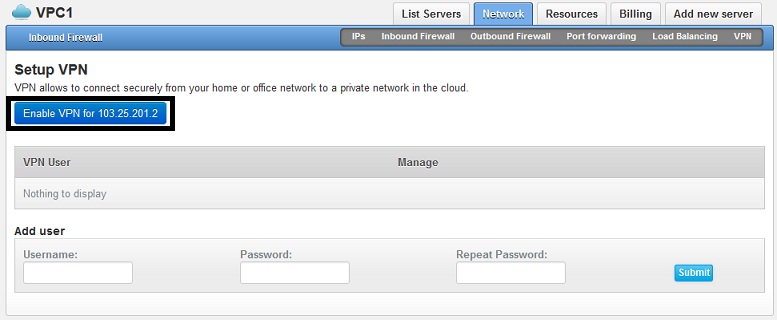
A button: "Enabled VPN for YOUR-VPN-PUBLICIP-ADDRESS" will appear. Click the button to enable VPN.

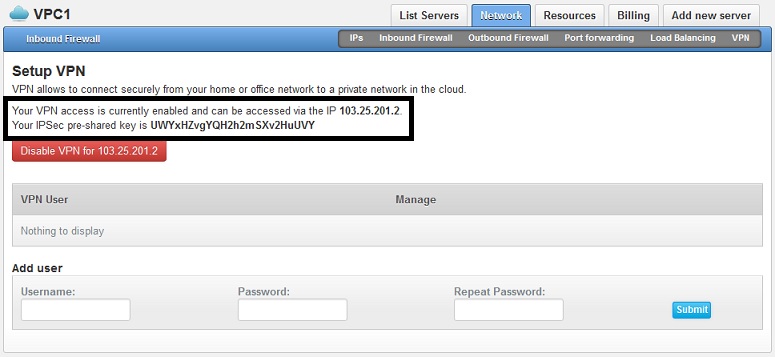
Once the VPN has been enabled, you will be able to see the notification on your control panel that the VPN is already enabled. Information on your IPSec pre-shared key will also be displayed.

It's time for you to create the VPN users. Under Add user, please key in the username (on the "Username:" column) and password (on the "Password:" and "Repeat Password:") of the VPN users you want to add.

Once the VPN user has been added, it will be shown on the list of VPN User for your VPC.

Your VPN setup is completed and ready to use. Please take note that below information is required for you to connect to the VPN:
- IP address of the VPN
- IPsec preshared key
- Username
- Password
You might want to check here on how to configure your Windows workstation to connect to the VPN.
☹Dislike0 ☺Like0
 ??
?? English
 Bahasa Indonesia
 ???
??? Espanol