 ??
?? English
 Bahasa Indonesia
 ???
??? Espanol
How to setup the backup policy and perform the backup of my files?
This article explains how to setup backup policy and perform backup of the files within your servelet.
- The first step before doing any backup is to create a "Disk Safe". A Disk Safe is where the backup data from a server is stored. On the Idera backup dashboard, on the right below pane under "Server Details" section, click on the "Disk Safes" tab and then click the "Create New Disk Safe" box.

Figure 1. Create New Disk Safe
- A new window pop-up of Disk Safe best practices appear. Click "OK".
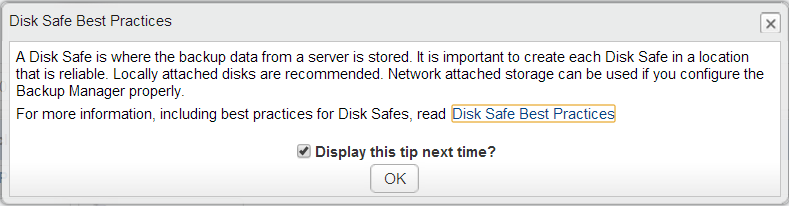
Figure 2. Disk Safe Best Practice window pop-up
- On the "Create New Disk Safe" section, there are four sub menus, namely "Settings", "Devices", "Data Settings" and "Limits".
- Click on "Settings", and then fill in the information with regards to the Disk Safe, such as the name, server and volume. Key in the Name as identification. For the Server and Volume, the value are generated automatically from the Idera. In the screenshot below, the Server value "idera-ubuntu-client" is the server name that we defined previously in Idera backup while we're adding server. The Volume value "inf1" is the username which is used to login to Idera Backup Portal. Continue by clicking on the "Create" button.
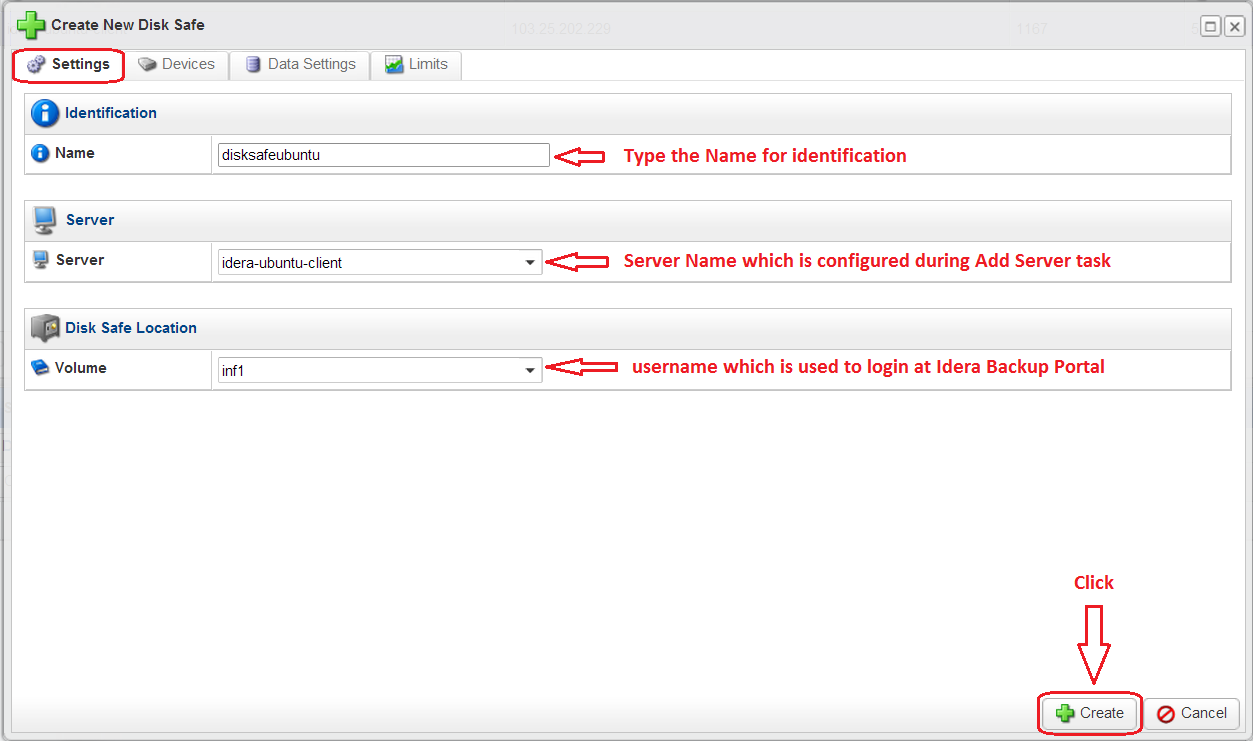
Figure 3. Create New Disk Safe, Settings configuration
- You will see a message saying that Creating Disk Safe is in progress, as per screenshot below. This will take a few minutes.
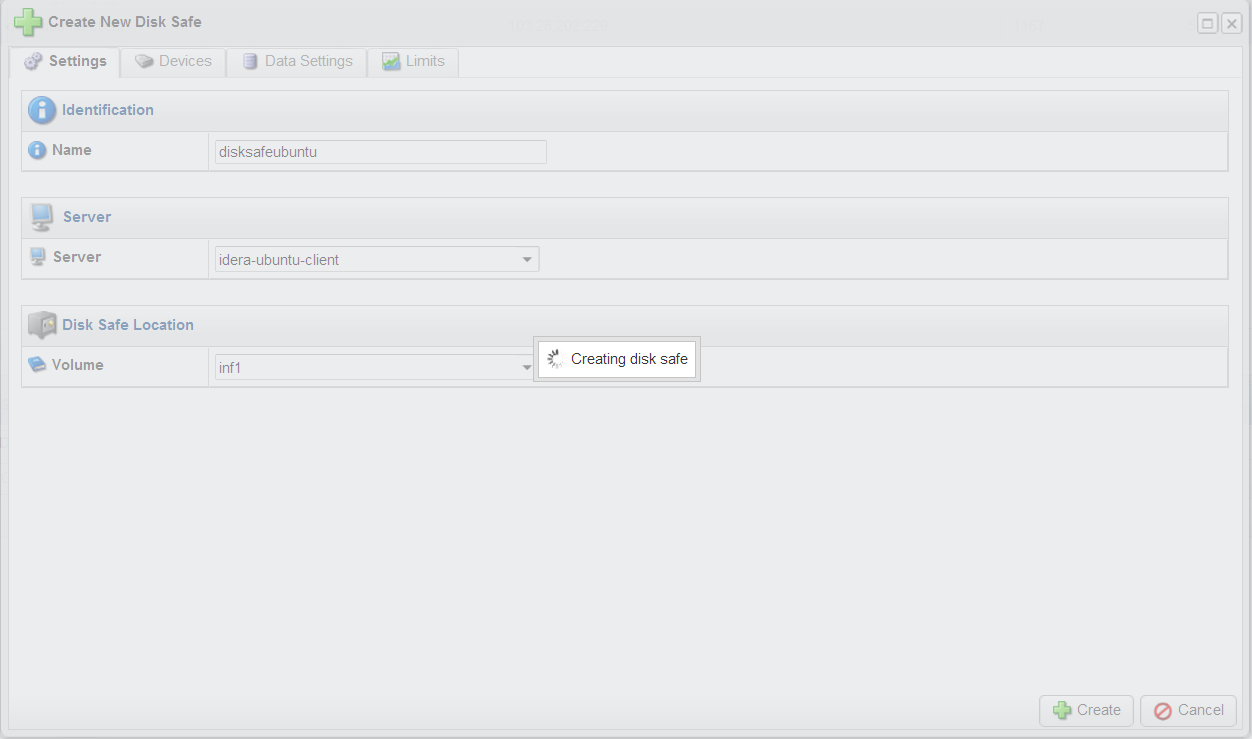
Figure 4. Creating Disk Safe is in progress
- After several minutes, there will be a message saying that the disk safe has successfully been created. Click "OK" to continue.
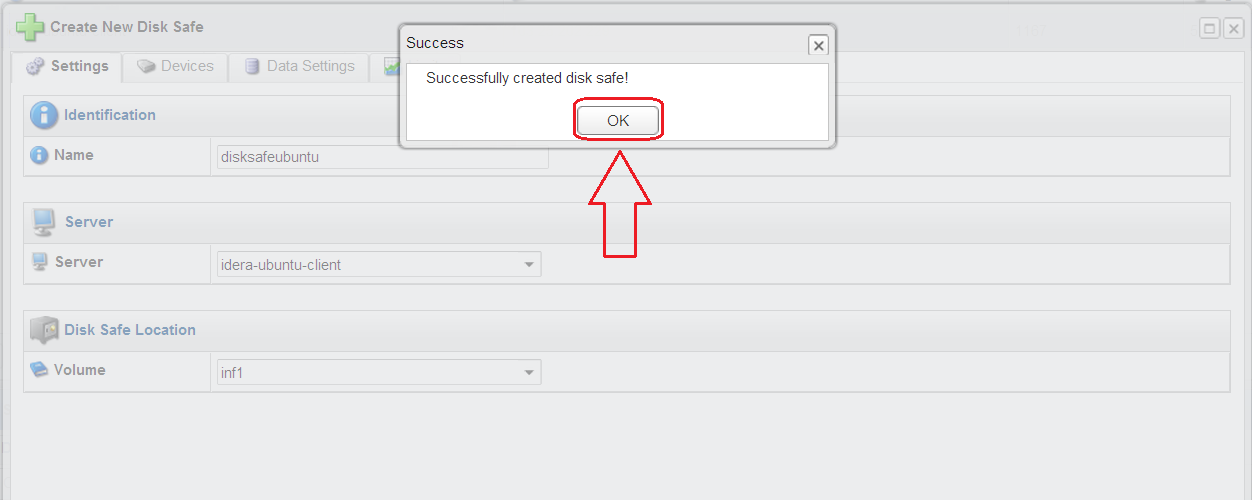
Figure 5. Disk Safe creation is successful
- Next, you would need to verify the new Disk Safe you have created. This is to confirm whether both of your servelet's disks (the root-disk and the data-disk) are being properly detected and recognised by Idera backup.
- To verify your newly created Disk Safe, go to your Disk-Safe and then click on the "Edit" button on the right side, as per below screenshot:

Figure 6. Editing Disk Safe
- First, we verify the "Settings" section first. Go to Settings, and then verify that the disk safe's name and server is correctly shown as per below screenshot.
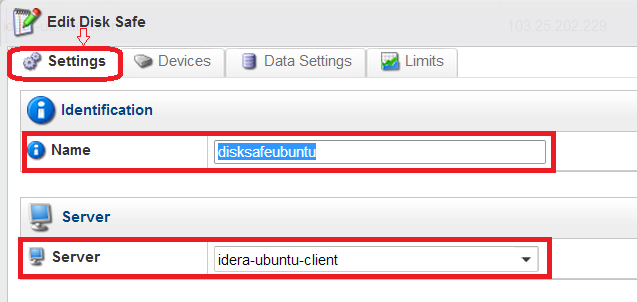
Figure 7. Verifying Disk Safe, "Settings" configuration
- Click "Devices" to check the Disk Safe setting for "Devices" configuration. You should be able to see the root-disk and data-disk capacity of your servelet, depending on the plan that you subscribe. In this example, the screenshot is based on the XS plan. Leave other configurations as per default.

Figure 8. Verifying Disk Safe, "Devices" configuration
- Click "Devices" to check Disk Safe setting for "Devices" configuration. You can select the compression type, but it's advisable to use the default one, which is QuickLZ.
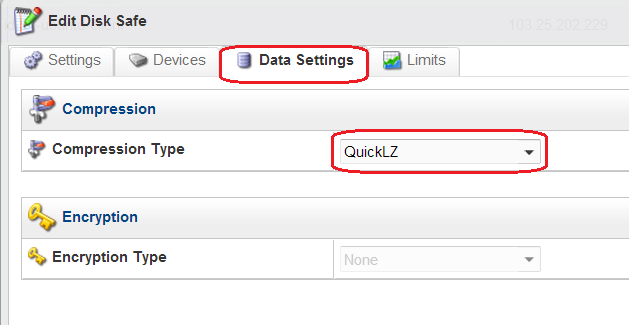
Figure 9. Verifying Disk Safe, "Data Settings" configuration
- Click "Limits" to check Disk Safe setting for "Limits" configuration. You can choose whether backing up your data daily, weekly or monthly. For the "Data Retention", the policy is defined by Idera Backup Server. For the "Quotas" setting, the limit of Soft and Hard Quota depends on the backup package that you subscribed from SimplerCloud.
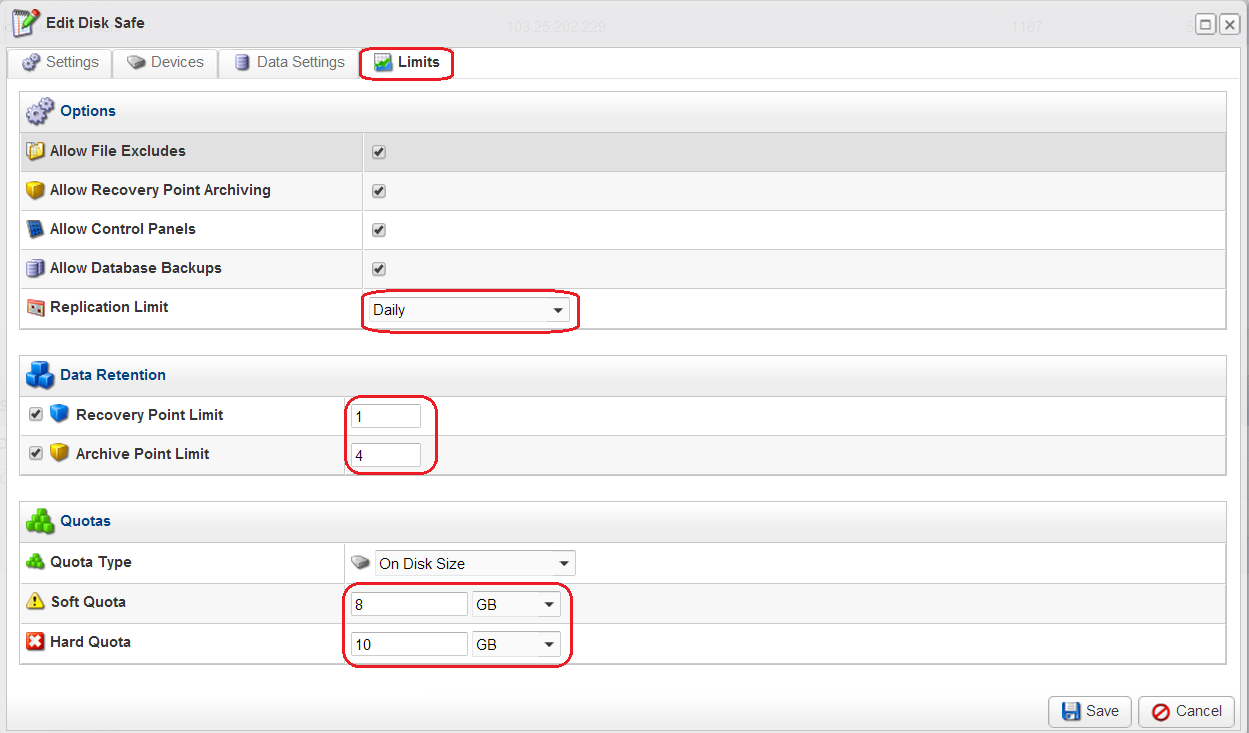
Figure 10. Verifying Disk Safe, "Limits" configuration
- Create New Policy for Disk Safe. In order to create new policy, choose "Policy" section and click "Create New Policy".

Figure 11. Create New Policy
- A "Create New Policy" window pop-up appears. Continue to configure "Policy Settings" by clicking "Policy Settings" tab. Make sure the "Enabled" status is ticked and write the policy "Name". The configure of Disk Safe doesn't need to be reconfigured. Leave it as default.
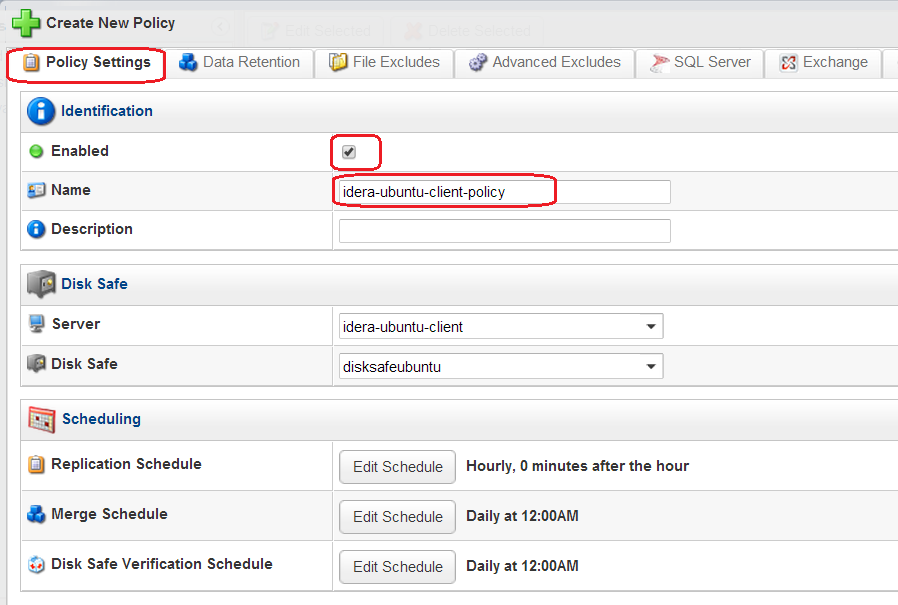
Figure 12. Configure "Policy Settings" for the New Policy
- Still in "Policy Settings" tab, click "Edit Schedule" to configure Replication Schedule. Configure the "Replication Frequency" which is Daily/Weekly/Monthly etc. Configure "Hours of Day" and "Starting Minute" of the "Replication Schedule" task and click "OK". Do the same steps for "Merge Schedule and "Disk Safe Verification Schedule" tasks.
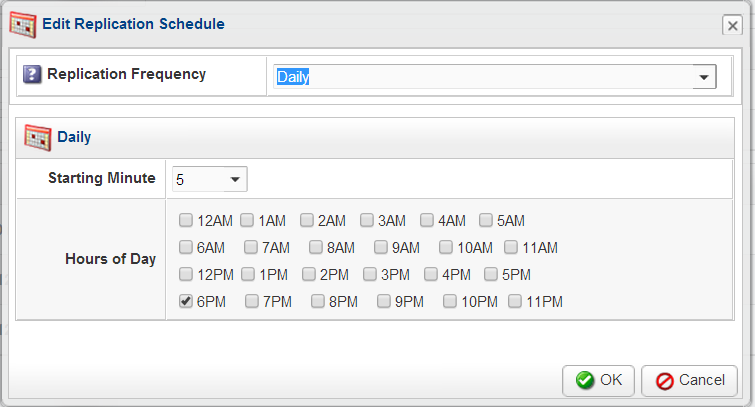
Figure 13. Replication Schedule configuration
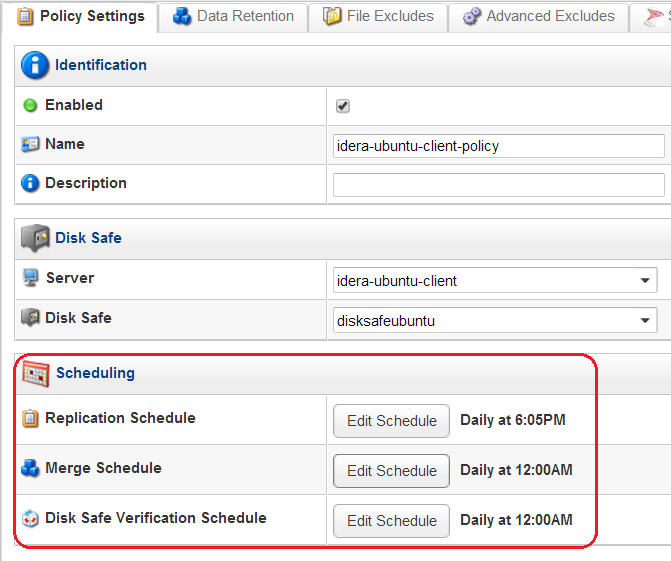
Figure 14. After the setting of Replication Schedule, Merge Schedule and Disk Safe Verification Schedule completed
- The next step is to configure "Data Retention". Click "Data Retention" tab. Configure "Number of Recovery Points to Retain". This setting is based on the global policy. The value might be vary, depending on the setting of the global policy.
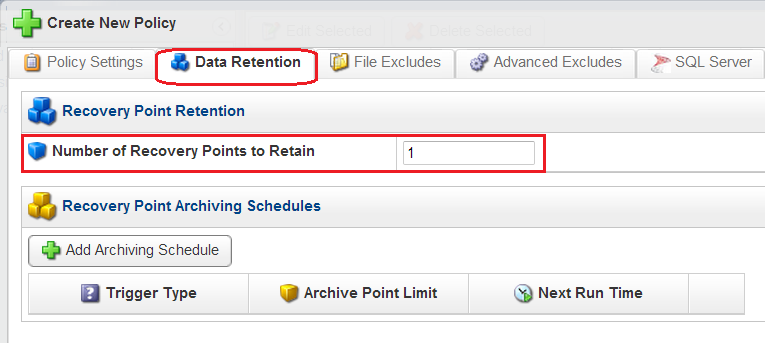
Figure 15. Configure Data Retention
- Configure "Recovery Point Archiving Schedule" by clicking "Add Archiving Schedule" icon. Configure "Archive Point Limit" and "Archive Frequency" such as Hourly/Daily/Weekly/Monthly/Yearly. Both depends on the global policy settings. Define the "Starting Minute" and "Hours of Day" starting schedule. Click "OK".
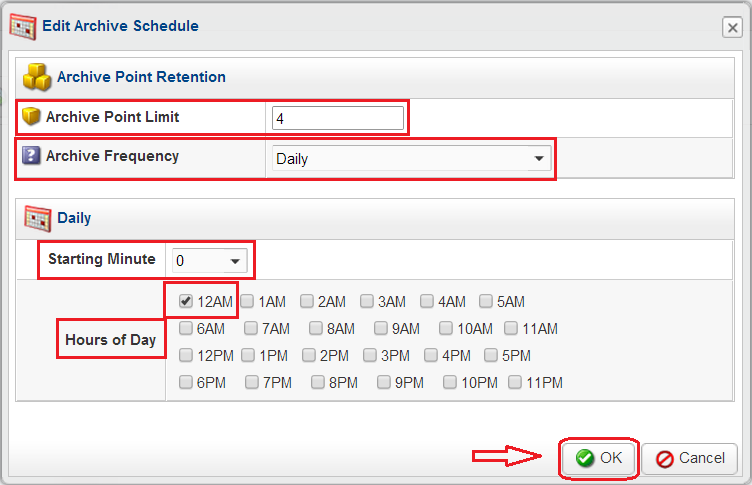
Figure 16. Configure Archive Schedule
- Configure file(s)/folder(s) which are excluded for being backed up. Click "File Excludes" tab and tick which file(s) and or folder(s) which are excluded for being backed up. Click "Create" if you preferred that the policy and task are executed following the Schedule Configuration or click "Create and run" if you preferred that the policy and task are executed immediately.
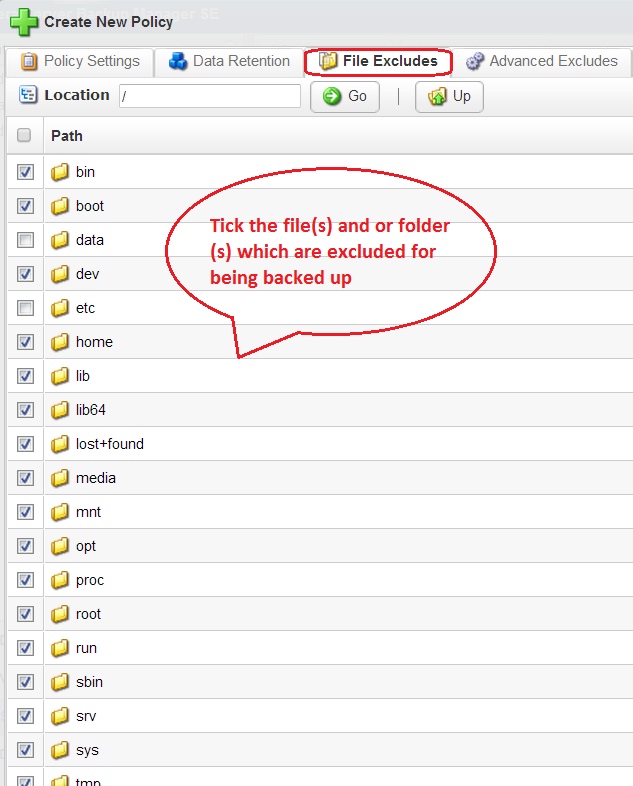
Figure 17A. File Excludes configuration
![]()
Figure 17B. Execute the policy and task by clicking "Create" or "Create and run"
- Below is the screenshot example if we click "Create and run". The policy and task are executed immediately.

Figure 18. Screenshot when policy and task are executed immediately by clicking "Create and run"
- Screenshot of the "Task Completed Successfully"
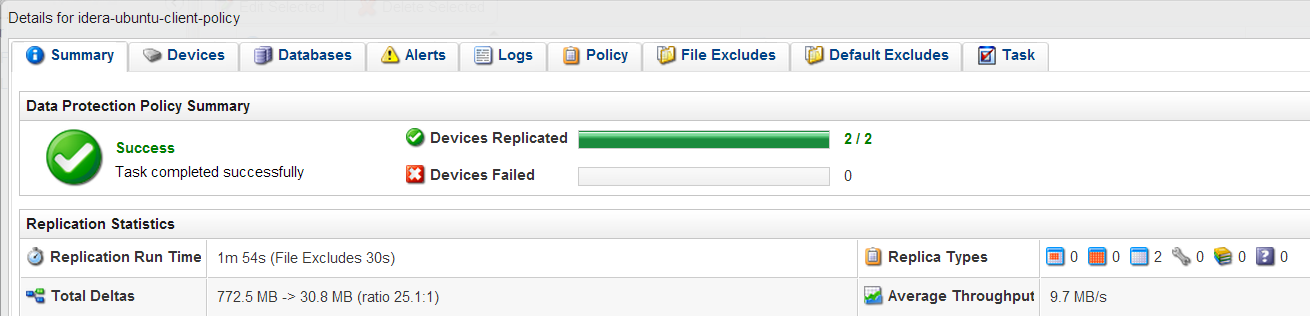
Figure 19. Screenshot of "Task completed successfully"
Was this article helpful?
☹Dislike0 ☺Like0
☹Dislike0 ☺Like0
Views: 1673